
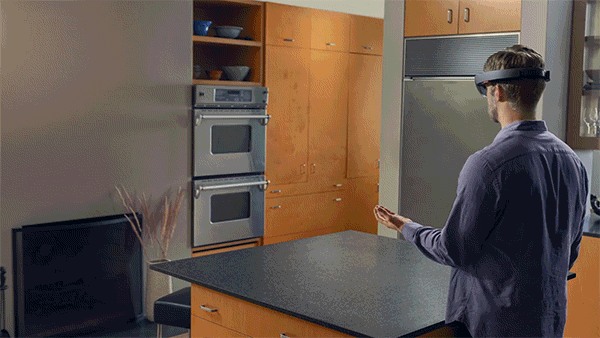
You might have heard of it. You might have used it. But did you know that Augmented Reality (AR) is one of the biggest hypes in technology right now? As a matter of fact, experts say it is following the same pattern of adoption as the internet back in the day. The exponential growth of AR has not gone unnoticed by multinationals like Procter&Gamble, Walmart, and Samsung, as they are already experimenting like crazy with AR! At Labs we also jumped the train as we are currently developing an AR application for tourism company WithLocals. Tourism and AR seem to have a perfect fit as they both revolve around experiences. But how do you start such a project? and what needs to be done both graphically and technically to make it work? You will read it in this blog!
Consumer Interview
We started with some basic research on the developing AR market and what people already know about AR. It turned out that a lot of people know AR and even used it before, for instance with the popular game Pokemon Go. A remarkable finding was that people sometimes didn’t know they were using AR when they actually were. The big example here are the infamous Snapchat filters. Did you know that your dog filter selfie is AR? Well, the people we interviewed didn’t!
Next to what people already knew about AR, we asked them to rank items on the importance for them to use it in the future. Segments like social media, gaming, and education were included. It turned out that people really want AR to be enjoyable, but also informational or functional. We took this into account and combined both informational and enjoyable elements in our application, but more on that in the next blog post. Though we can hypothesize assumptions and conduct market research forever, it takes a lot more to make a stunning and relevant AR application. Let’s explore the technical aspects of creating AR and take a look in the software kitchen of AR!
Technical Aspects
Within an AR application you often get to see 3D objects that stand on the floor or on your desk. However, coding-wise it is pretty tough to create this illusion real life objects. The objects are actually placed on so-called ‘Planes’ which function as a floor where objects are placed on. Plane detection is of great importance for AR development as the characters need to ‘stand’ on a plane to make it feel natural and real. So in reality, the characters you see dancing on your desk are actually dancing on a plane which is projected on your desk.
Next to plane detection the characters need to be anchored. With anchoring the character keeps its position as you walk around it while using the app. All this just to make it a life-like experience for the user. Luckily for us, we can use Unity’s AR Interface project (the game engine we use to make the app), which abstracts certain AR features like plane detection and light estimation so that the application can easily be deployed on both iOS and Android. Although this is convenient, lots of other functionalities are missing and need to be written either like that (abstracted for both platforms), or written in a more lazy way twice (separately for iOS and Android). This is a highly time consuming job only to be able to release the application on iOS and Android.
Now we looked into market research and technical elements, let’s take a look into building an AR model! We already made several characters to be implemented in the application, but for this first post we will only give you a sneak peak of our main character and on how it is made.
3D Model
The content seen in most AR applications, is made in a similar way as the content that you see in commercials, games, and even movies! This is because most content is created with similar methods and software. Usually there is a big difference between a game (real-time), and a movie (pre-rendered), and since AR is pretty comparable to games, it is also used in real-time. This means that we need to take into account that the image we see, is played back at 24, 30, and/or 60 frames per second.
What does this mean for us specifically? Since we are using mobile as a platform, we need to take even more optimization into account when creating our content.
With optimization, we mean that the phone has to be able to render these models accurately and efficiently, so they need to be prepared in a certain way.
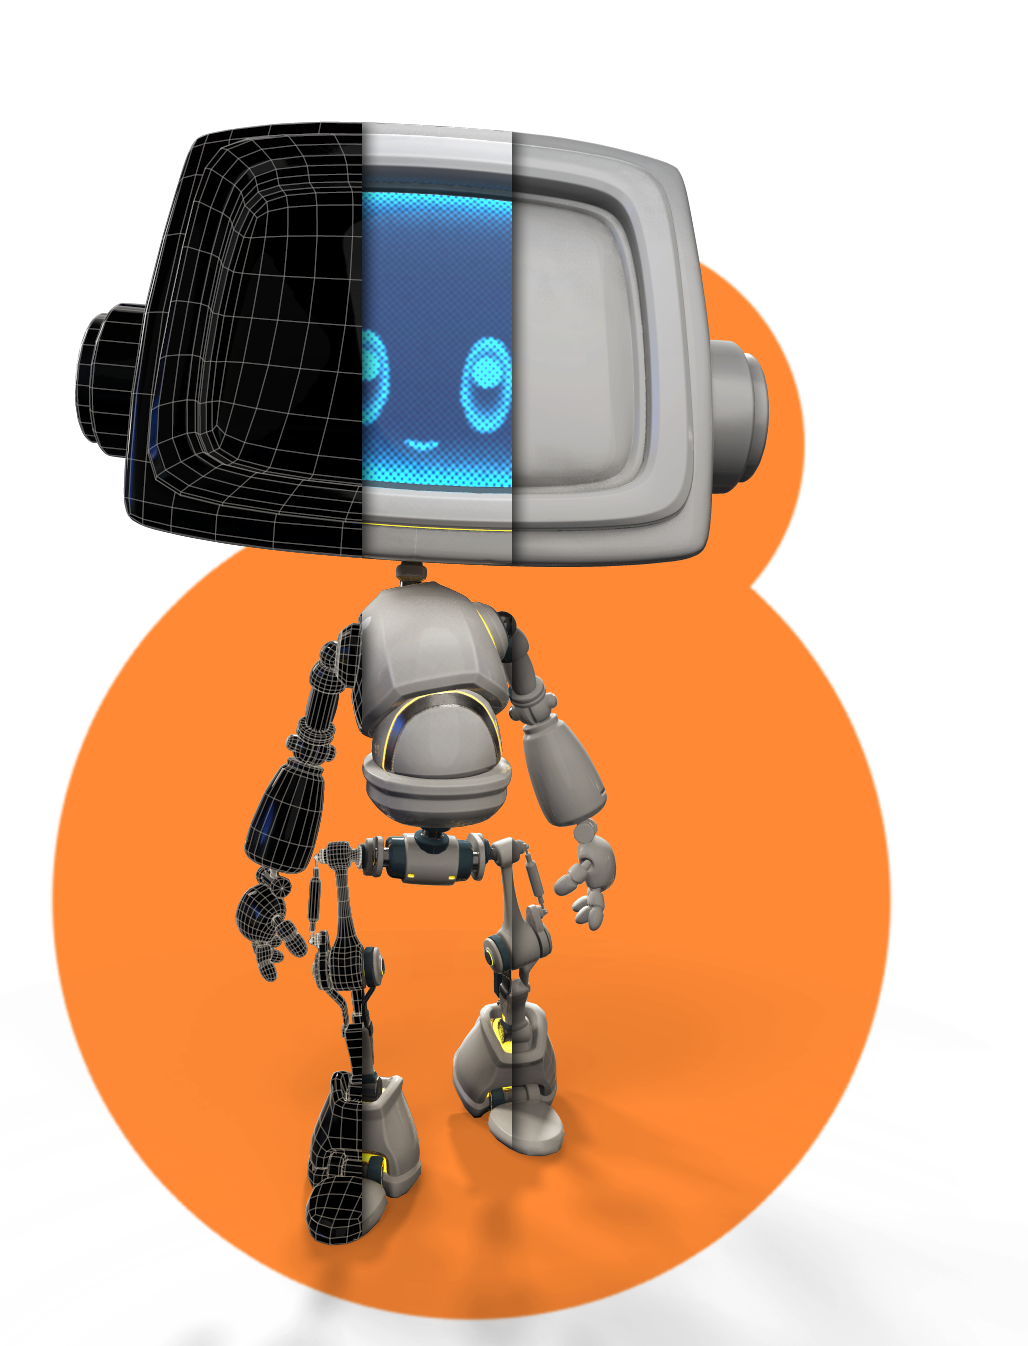
In the image below, you can see from left to right: wireframe, texture, and high-density model. This is to illustrate that we need to employ a certain method to get from an ‘heavy model’, that is not usable in real-time, to a ‘light model’ that is usable on for instance mobile phones. We started with a rough idea of what we wanted the character to look like. This is usually dependent on its purpose and story. After that, we created sketches that helped us visualize what the character might look like, and is usually one of the most important steps. When the concept was approved, we started modeling the character, trying to match the concept as best as possible.
What follows is the detailing phase, where we put all secondary and tertiary detailing in. This can also be done in the texturing phase, but a certain degree of detailing is done in both of these stages of the character creation.
After finishing the ‘heavy model’, we created a ‘light model’ that was optimized, but still carried all the detail of the high quality mesh. The next blog post will include the process of making a character move and other relevant processes of further stages.
Continuing
This whole project is based around building a working mobile AR application, which also has a relevant purpose. In the next blog, we will show our further progress including UI, UX, rigging of 3D characters, and a preview of the final application we are making for WithLocals.


Leave a Reply
You must be logged in to post a comment.